
Pallet projects, in every possible form, were early guests to the DIY party and have stayed around ever since. Using them for the reclaimed wood certainly has its risks (more on that later), but you can’t beat the price (which is usually free). Here’s a guide to everything you need to know: finding, choosing, cleaning, and breaking down one for use. Once you know the what’s what, you can decide for yourself if they are worth the effort.
Tons of businesses get shipments that are packed on wooden pallets. If you are driving around, or know of nearby building supply or liquor stores, take a peek around back to see if you see any around. Then, just ask someone nicely if they plan on using them (but hey, no stealing y’all). There are so many out there in the world, chances are good that some stores or warehouse will be happy to give them away. If, for some reason, you are having a hard time getting your hands on them, try the free section of Craigslist. I regularly see people trying to get rid of them there.
Pallets come with questionable histories; you’ll never know what they were used for, and where they’ve been. We’ve talked about some the inherent dangers of using them before, so you’ve probably know that pallets are often treated with chemicals — the type you don’t want anywhere near you or your children, or in your house. They are also often breeding grounds for mold, insects, and bacteria.
If you don’t care, or are feeling lucky (punk), look for pallets that are the safest to reuse. Don’t just grab the first one you see…
Avoid the ones you see at grocery stores, as they are more prone to food spillage. Bacteria (even if you can’t see it) and porous wood make for bad bedfellows.
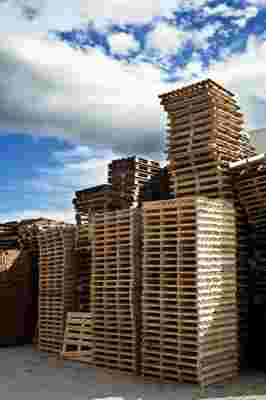
Make sure the wood is in decent shape. You’’ll probably lose some boards while tearing it apart, so start off with as many as possible that aren’t cracked, bowed, or warped.
Look at the nails used. If they are particularly twisted, they might be even harder to remove. Decide if it’s worth the work.
Inspect it for gross residue, oil stains, or mold. The same goes for smells.
Avoid the ones that have been sitting out in the rain for months.
Look for stamps on the wood. DIY Ready has a great guide on the markings used on pallets to help you determine their level of safety, and which use pesticides or formaldehyde.
If you own a power washer, this is a good time to use it. Scrub the wood with soapy water (and some bleach if you like). Rinse it down well, and allow to completely dry. There’s no real way to know if you are taking care of all of the bad stuff, so it’s best not to use pallet wood for projects used near food or the kiddos. Some folks won’t even bring it in the house, and reserve this type of wood for outdoor furniture. Again, it’s up to you.
First you’ll have to break your pallet down and remove all the nails to get it ready for use. Everyone has their favorite method for doing this, so choose which you like best and which suits your needs. No matter what, wear gloves for splinters, safety glasses, and a dust mask to protect yourself from everything I mentioned above!
Option 1 : Old school prying using hand tools like a crowbar and hammer. Don’t go at them too wildly or you’ll wind up throwing the baby out with the bathwater when all the wood splits on you. You have to be firm but careful and work methodically to loosen the boards and nails, which will take a long time. If you plan on doing a lot of these, invest in a special tool like a Duckbill Deck Wrecker or Pallet Buster .
Option 2 : Here’s a video of a shortcut from Youtube , which requires a reciprocating saw to power through the nails between each piece of wood. It’s quick, and doesn’t require much sweat, but it leaves the remainder of the nails in each piece of wood. That could be troublesome when you go to saw through the wood later while building your project.
Option 3 : Cut out the cross pieces, leaving behind the wood sections (with the nails in them) still attached to each side. You can just do the sides and then pry off the middle support piece. Or cut out two smaller pieces from the one cross piece. Use these for smaller projects that don’t require long lengths of wood. See the dismantling process here .
What else have you yourself learned from this process?